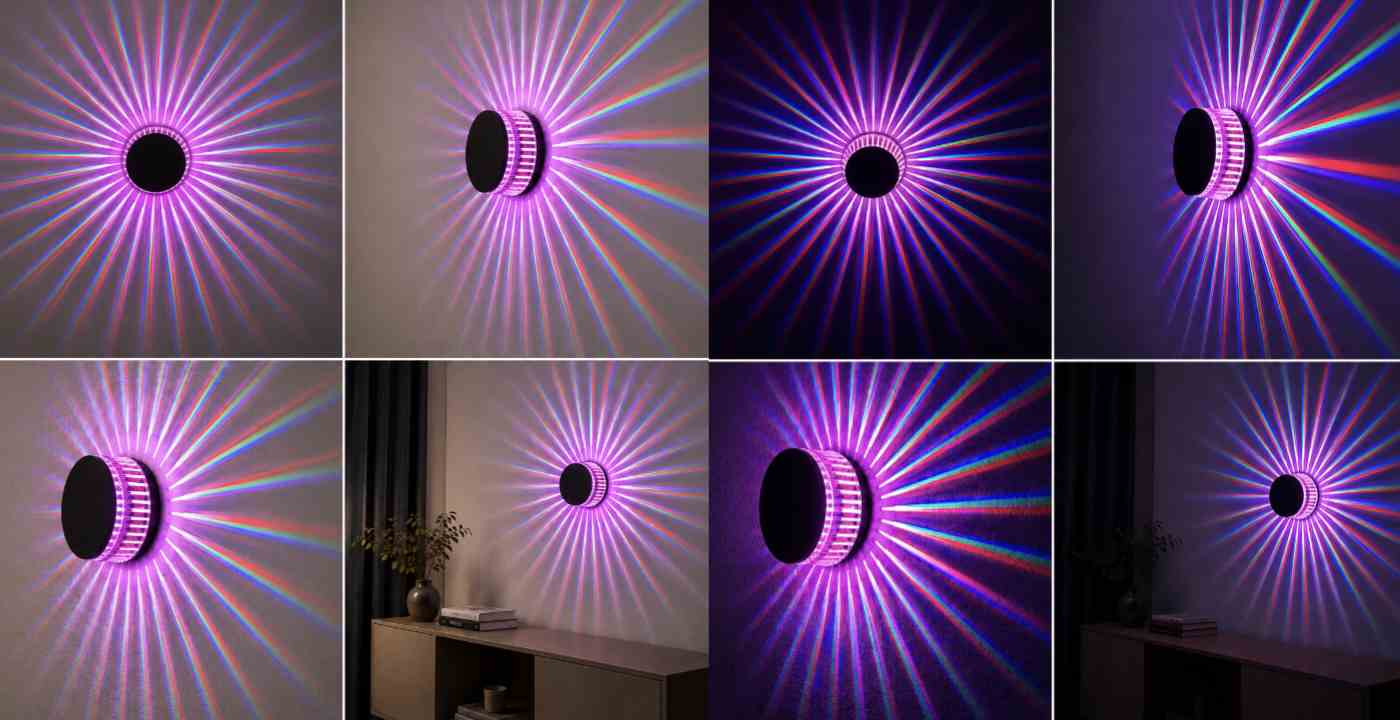
DIY Lighting
How to Make a PVC Wall Light at Home – Step-by-Step DIY Guide
Aug
Making a stylish wall light at home doesn’t have to be complicated or expensive. In this guide, we’ll show you how to make a PVC wall light step by step using simple materials and basic tools.
Materials Required
• PVC Pipe
• Matte Black Spray Paint
• 3W LED 🔗
• Aluminium Heat Sink
• Electrical Wire
• Light Fitting Screws
Tools Required
• Fast-Setting Glue
• Angle Grinder
• Rotary Grinder
• Drill Machine
• Sandpaper
• Hacksaw Blade
PVC Wall Light Making Process
In this section, we will show you how to make this PVC wall light step by step, from cutting the PVC pipe to installing the LED and testing the finished light.
Step 1: Cutting the PVC Pipe
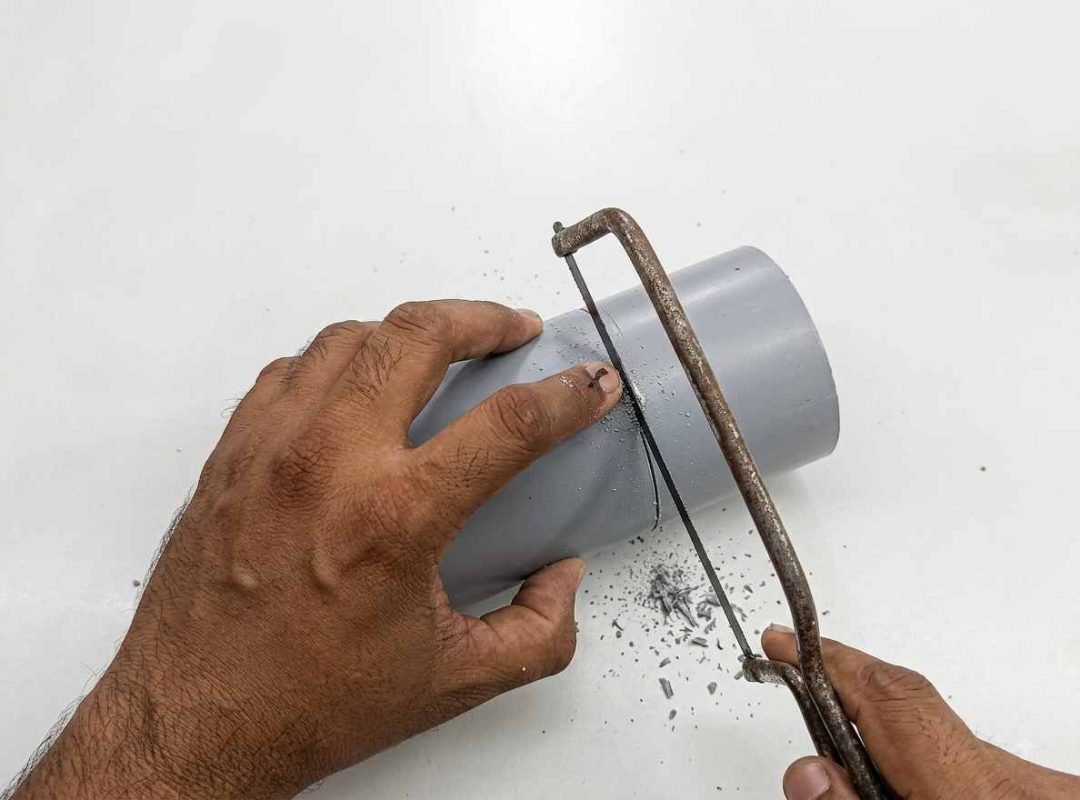
First, take a 3-inch diameter PVC pipe and mark a 3-inch length. Carefully cut the pipe along the marked line using a hacksaw blade. Make sure the cut is straight and clean, as this will be the main body of the wall light.
Step 2: Attaching the PVC Sheet Pieces
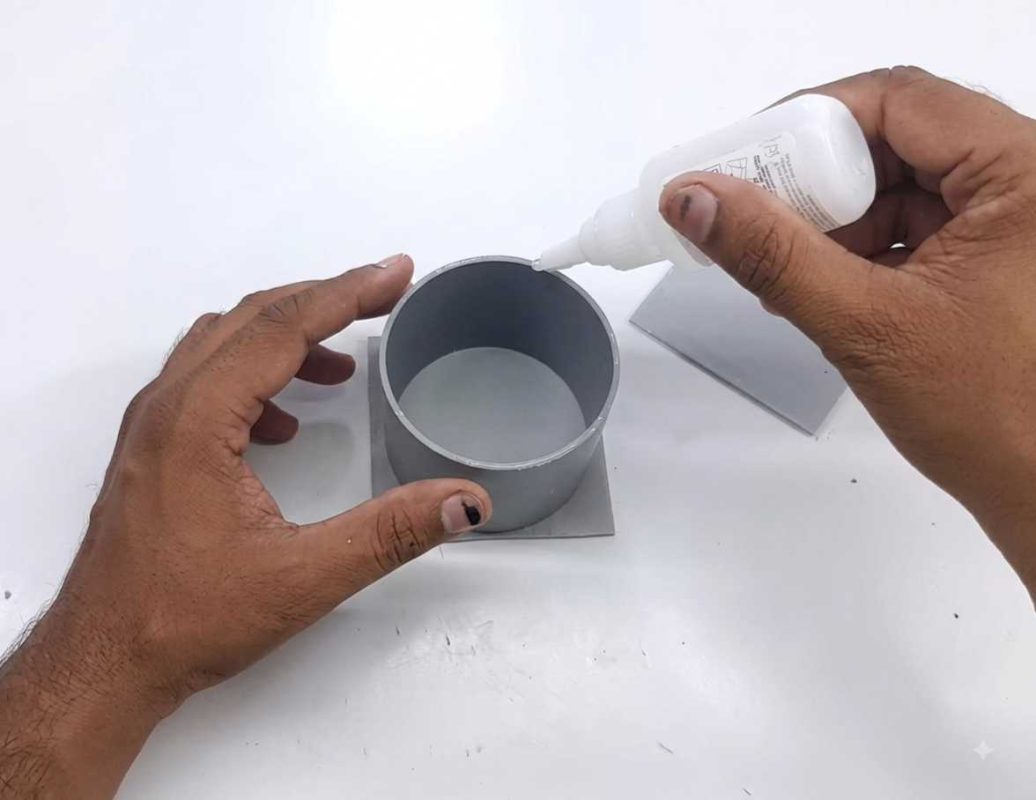
After cutting the PVC pipe, take two pieces of PVC pipe sheet. Apply fast-setting glue to both sides of the cut PVC pipe and carefully attach the two PVC sheet pieces. Make sure the sheets are properly aligned and firmly attached to the pipe.
Step 3: Cutting and Finishing the PVC Sheet
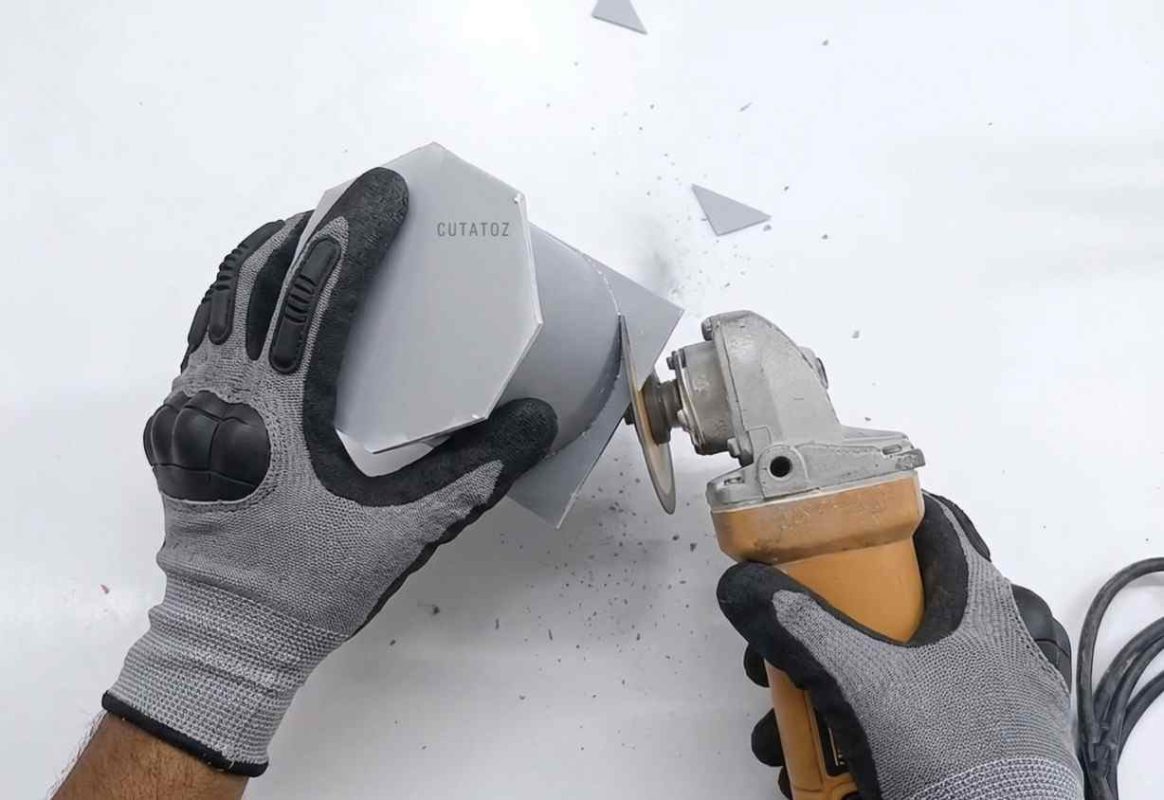
After attaching the PVC sheet pieces to both sides of the pipe, use an angle grinder to carefully cut away the excess sheet material. Grind the edges smoothly to create a clean and even finish around the PVC pipe.
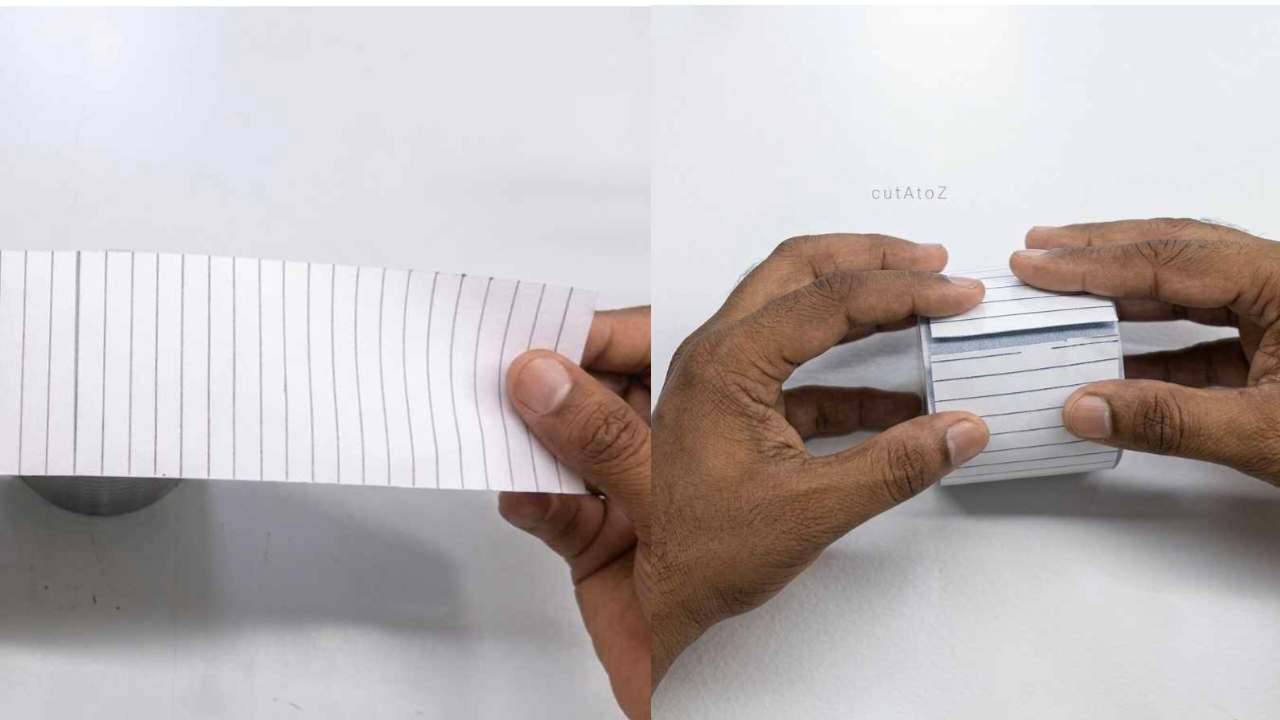
Step 4: Applying the Design Template
Take the template of the light design and carefully place it over the PVC pipe. Align the template properly and attach it securely to the pipe so that the design can be accurately transferred to the surface.
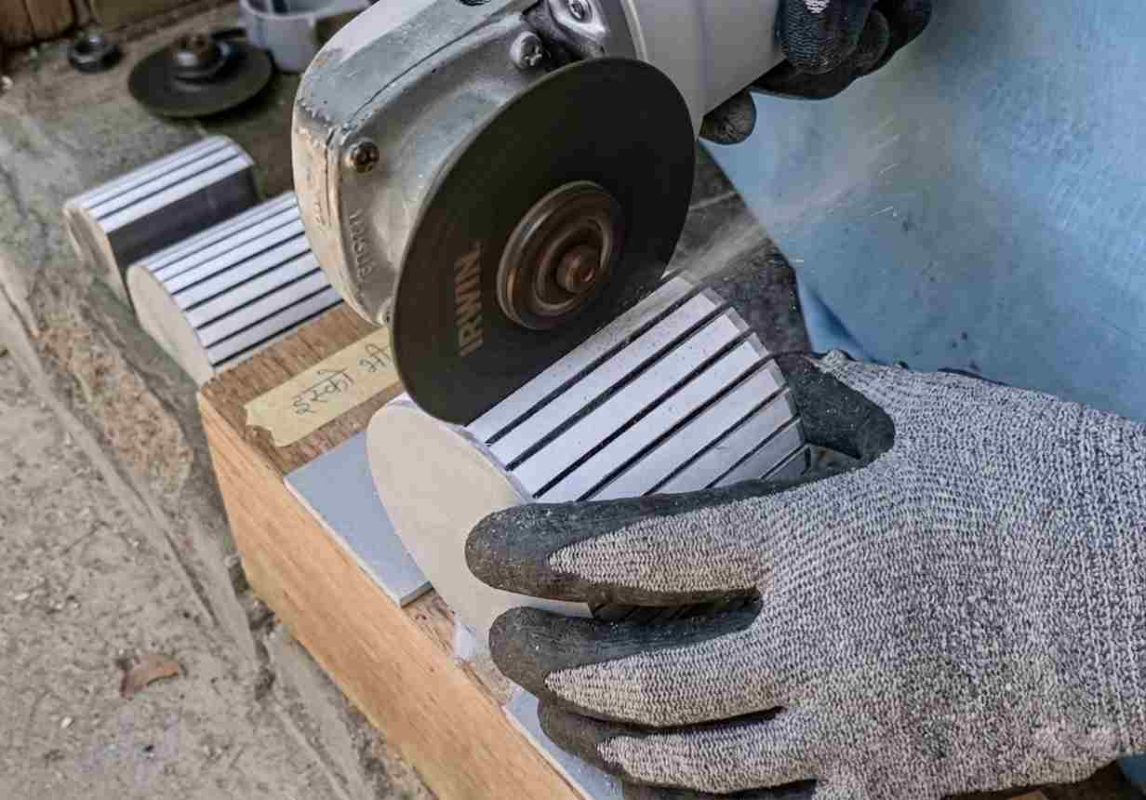
Step 5: Cutting the Light Design
Once the design template is securely attached to the PVC pipe, carefully cut along the design pattern using an angle grinder. Follow the template lines accurately and work slowly to achieve clean and precise cuts.
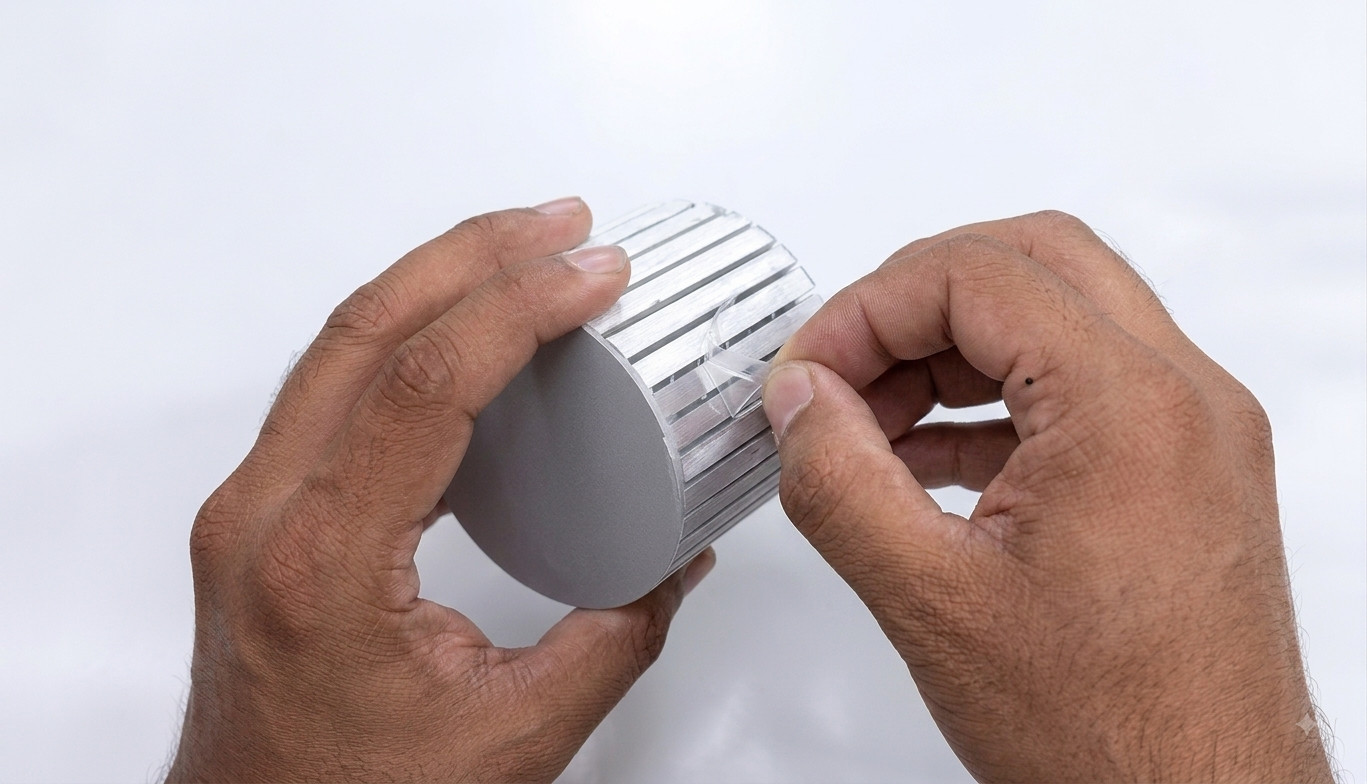
Step 6: Removing the Template and Smoothing the Edges
After cutting the design, carefully remove the design template from the PVC pipe. Use sandpaper to smooth the cut edges and remove any rough or sharp areas. This gives the design a clean and finished look.
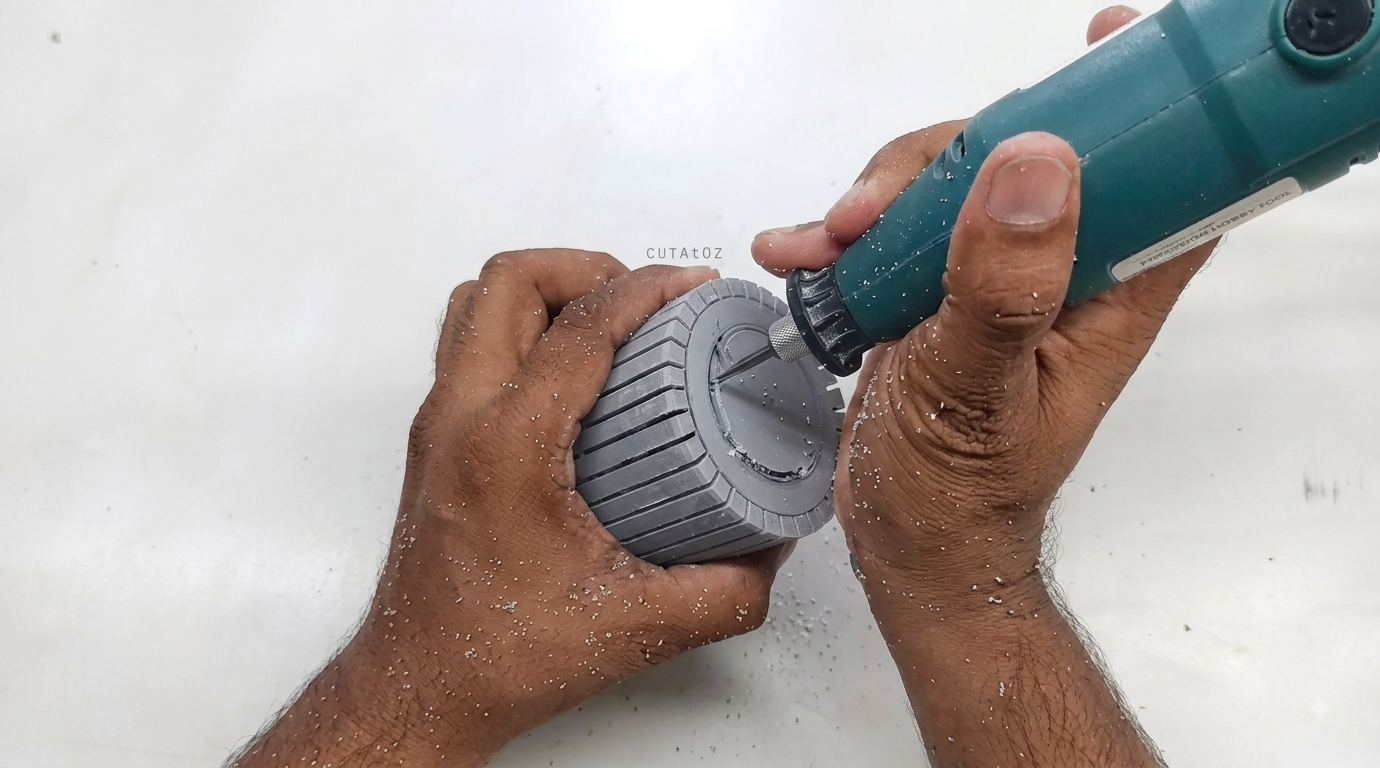
Step 7: Making the Rear Hole
Next, make a 1.5-inch diameter hole on the back side of the PVC pipe using a rotary die grinder. Carefully cut the hole and smooth the edges to ensure a clean finish.
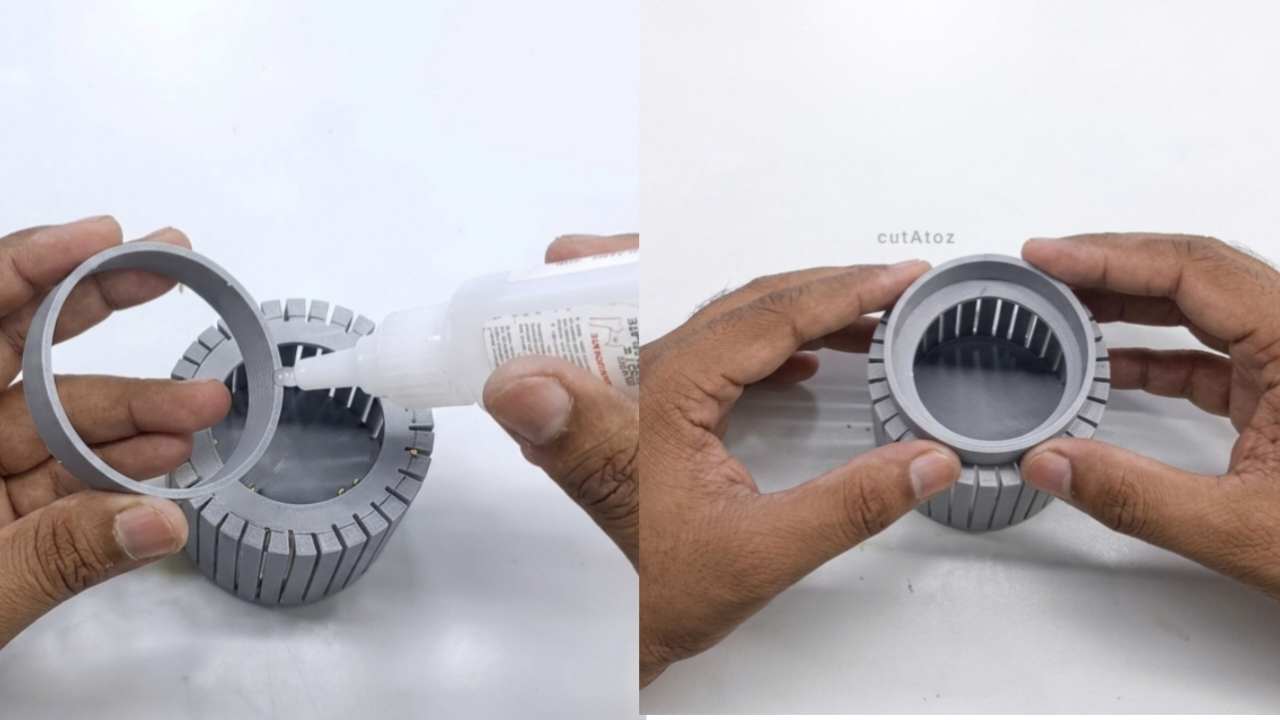
Step 8: Attaching the PVC Ring
Take a 2-inch diameter PVC pipe piece with a length of 0.5 inch. Apply fast-setting glue around the piece and carefully attach it to the hole on the back side of the light. Make sure it is properly aligned and firmly fixed in place.
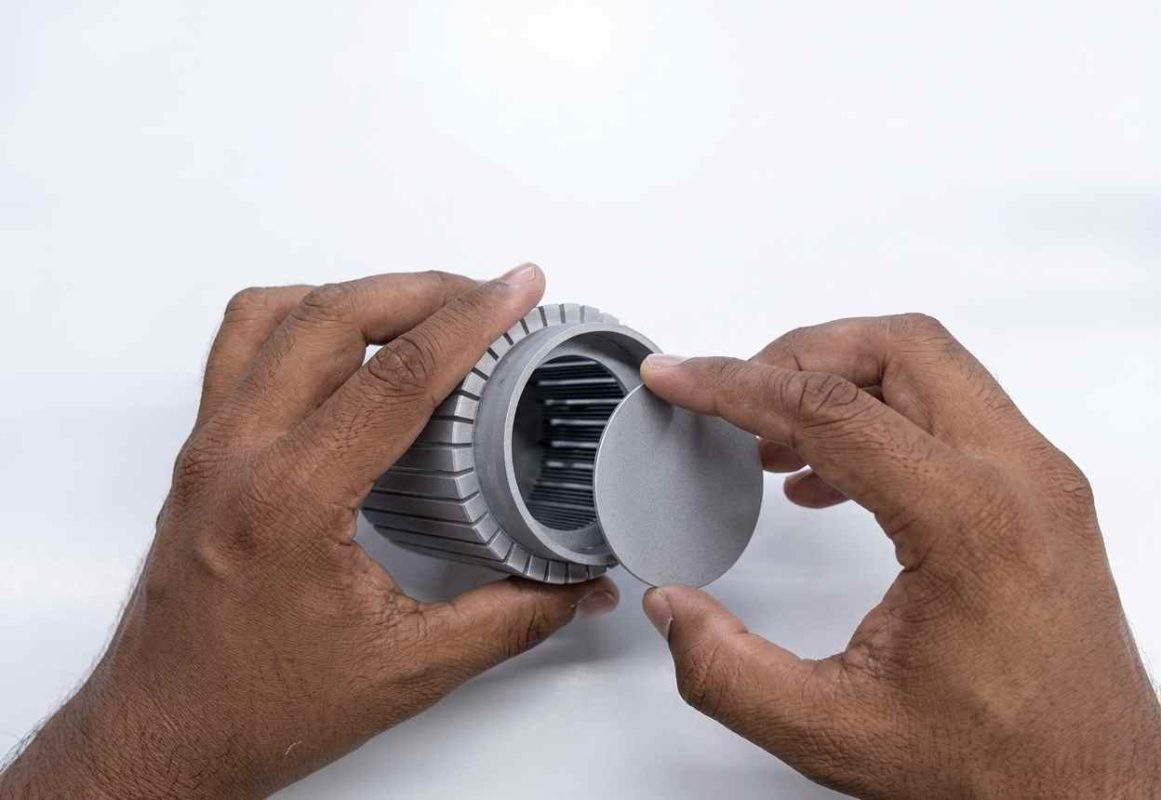
Step 9: Adding the Rear PVC Cover
Take a PVC pipe sheet and mark a 2-inch diameter circle on it. Cut the circle carefully and fit it onto the rear side of the light. Make sure the circular piece is properly aligned and fits securely.
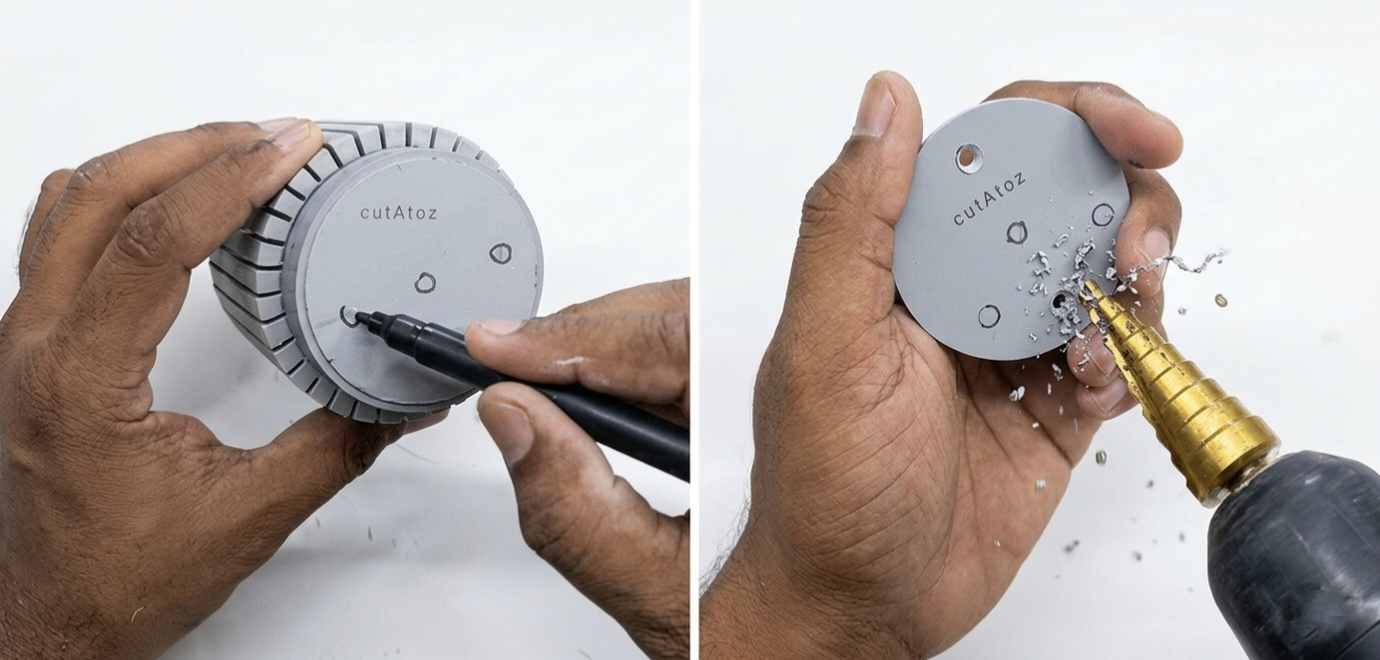
Step 10: Drilling the Mounting and Wire Holes
Mark the positions for the mounting screw and wire holes on the light. Using a drill machine with a step drill bit, carefully drill the marked holes. Make sure the holes are properly positioned and clean for easy installation.
Step 11: Painting the PVC Light
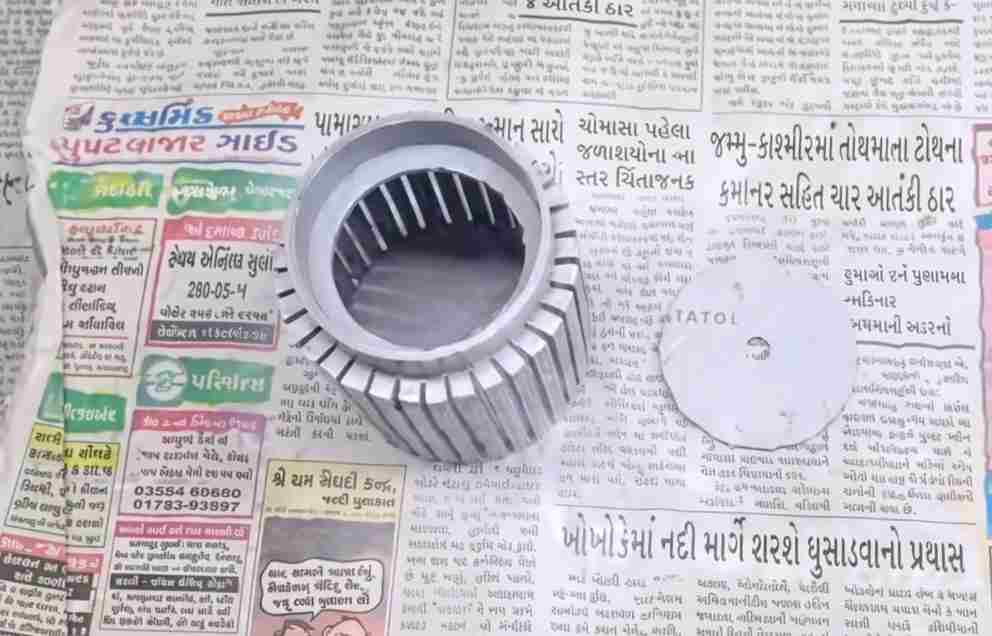
After completing the cutting, drilling, and finishing work, clean the PVC surface to remove any dust. Apply matte black spray paint evenly over the light body. Allow the paint to dry completely before moving on to the next step.
Step 12: Installing the 3W LED and Heat Sink
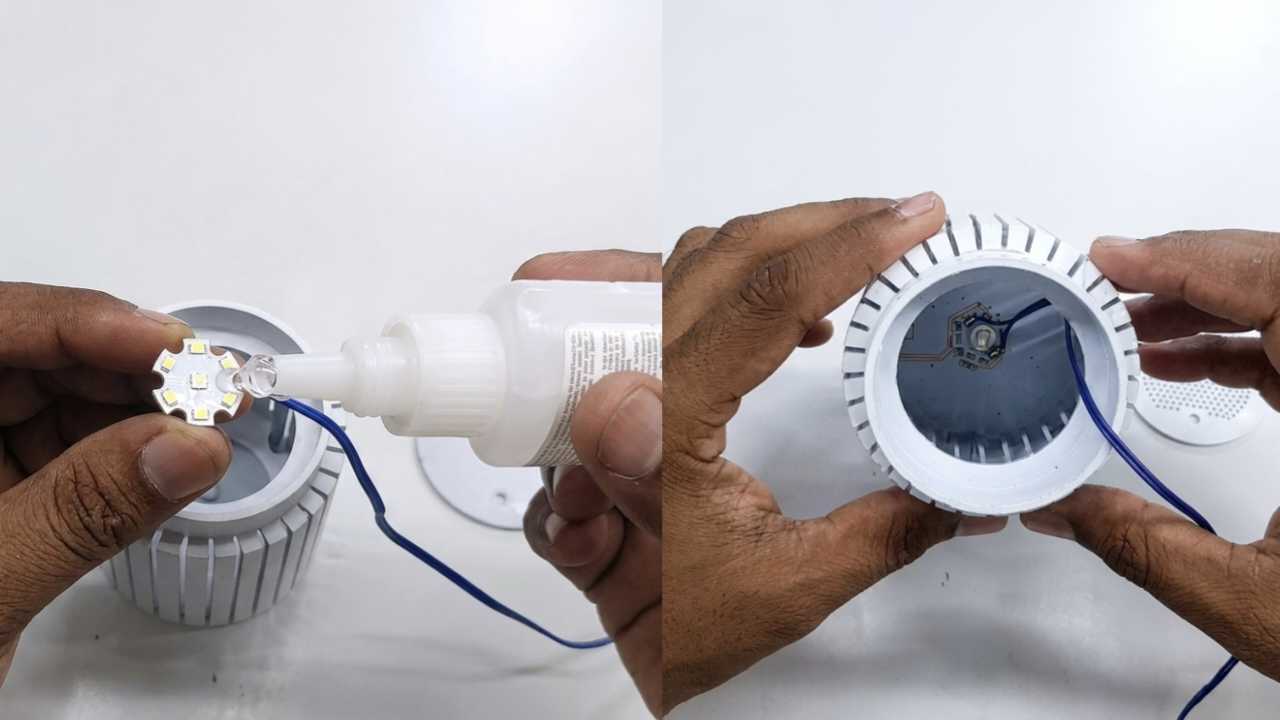
Next, take a 3W LED with an aluminium heat sink and connect the required wire. Apply fast-setting glue to the heat sink and carefully attach the LED assembly inside the light. Make sure it is securely fixed and positioned correctly for proper light output.
Step 13: Connecting the 3W LED Driver
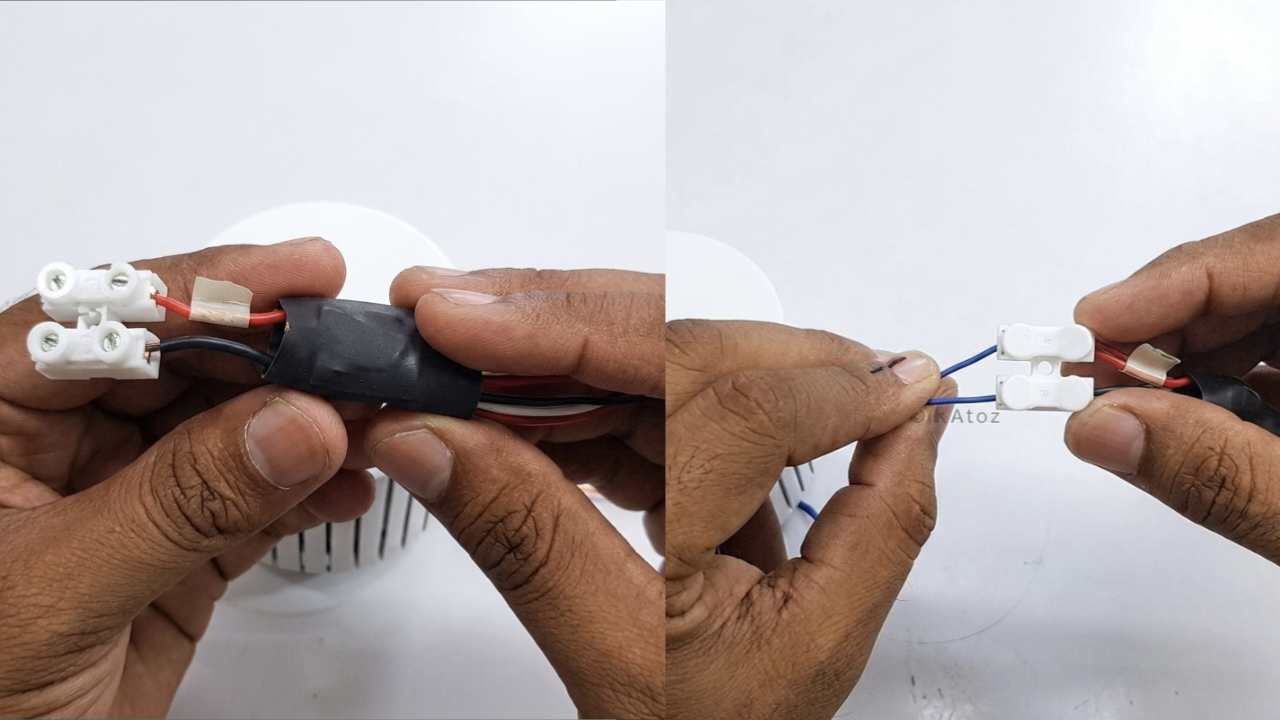
Next, take a suitable 3W LED driver and connect the LED to the driver’s output terminals, making sure the positive (+) and negative (−) connections are correct. Connect the AC input wires to the driver’s input terminals according to the driver’s specifications. Make sure all electrical connections are secure and properly insulated before testing the light.
Step 14: Testing the Light
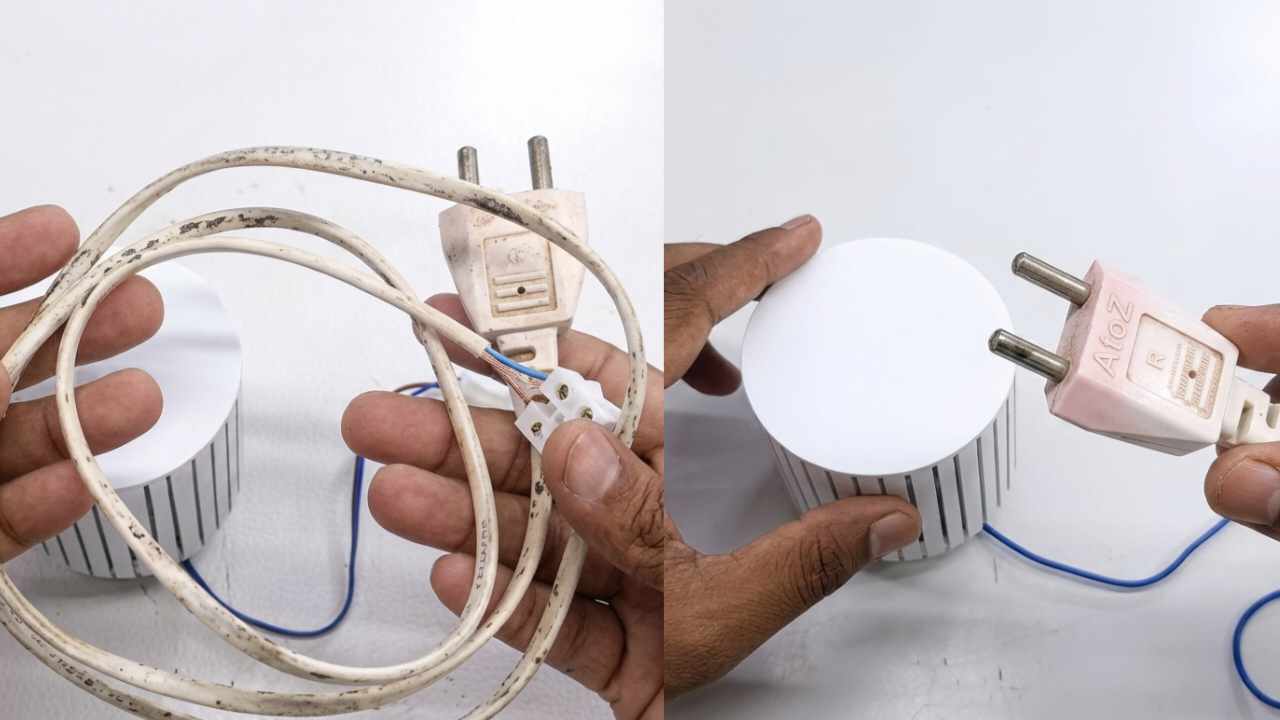
To test the light, connect a suitable two-pin power wire to the AC input of the LED driver. Before switching on the power, check all connections and make sure the LED is connected correctly to the driver’s output. Connect the light to a power supply that matches the LED driver’s input rating and switch it on to make sure the LED is working properly..
Step 15: Final Result
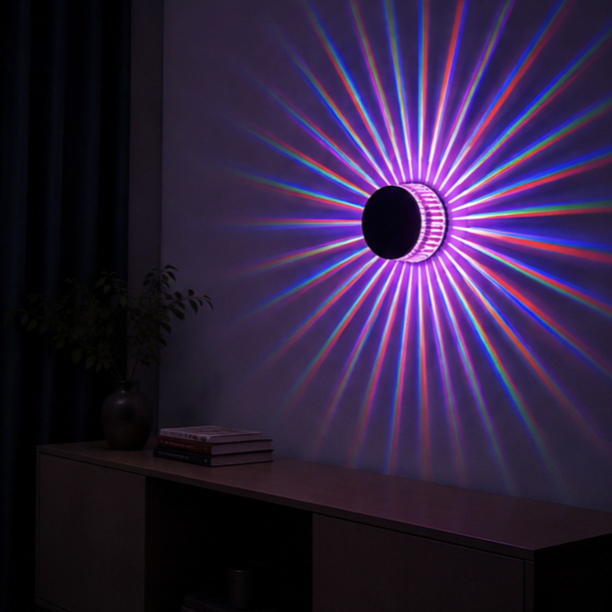
Final Result: PVC Wall & Ceiling Light
Our PVC wall and ceiling light is now complete. The finished light has a clean matte black finish and a modern design. It can be used as both a wall light and a ceiling light, making it a versatile DIY lighting project.
Safety Precautions
Before working on the light, always disconnect the power supply. Use the LED driver according to its input and output specifications and make sure the LED polarity is correct. When using an angle grinder, rotary grinder, or drill machine, wear appropriate safety equipment such as safety glasses. Make sure all electrical connections are properly insulated and secure before connecting the light to the power supply.
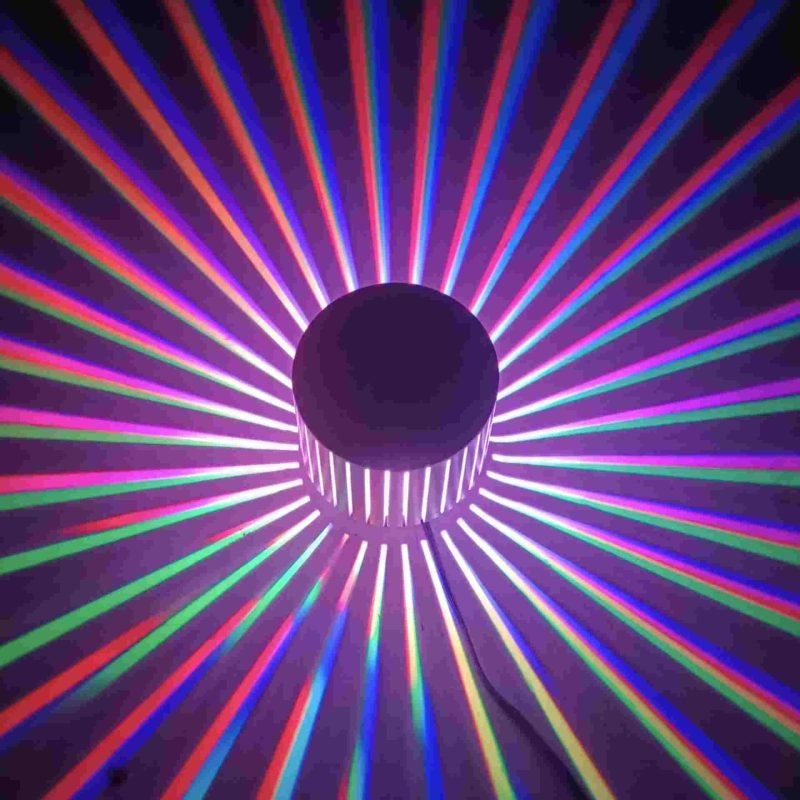
Final Result: PVC Wall & Ceiling Light